
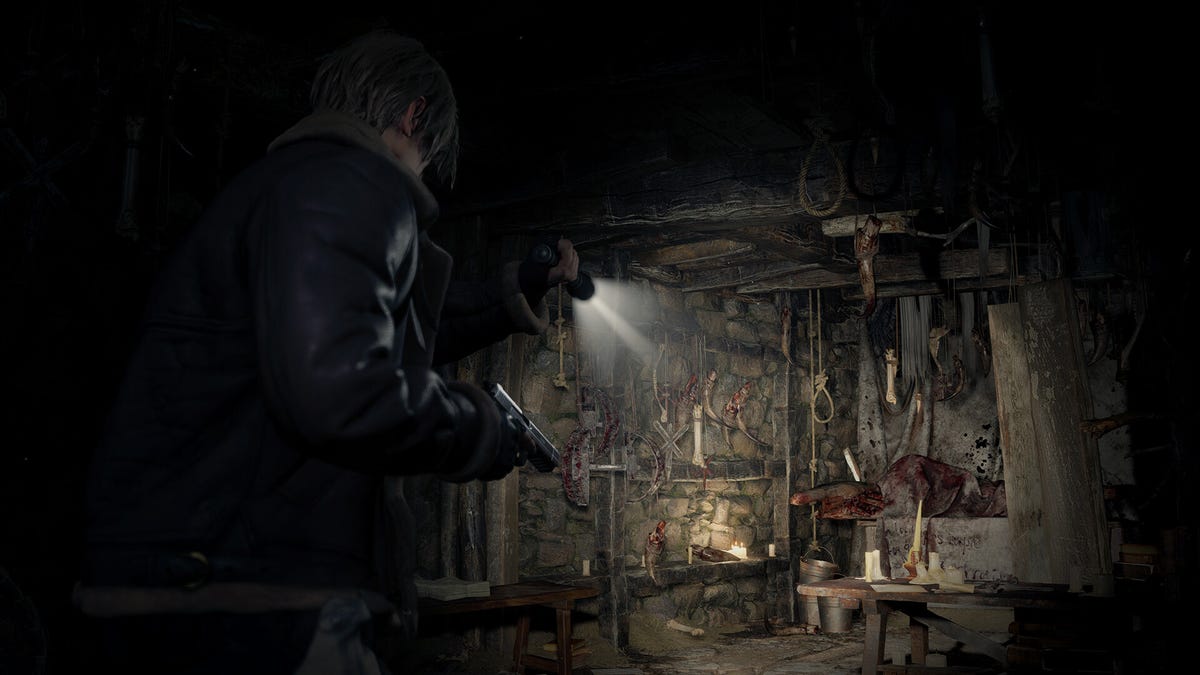
When you’re not getting lost in Resident Evil 4 remake protagonist Leon’s dreamy abs, you might find yourself trapped in an uncomfortable reality filled with puzzles—some difficult, and some simply annoying. I don’t know why RE4’s imposing castle and outskirts are packed with elaborate, burdensome puzzle pieces when, in many cases, I’m sure a quaint game of Bananagrams would have scratched their parasitic inhabitant’s itch just as well. Plotting so many secret door unlockings seems like a lot more work than Bananagrams, and a lot heavier.
I have solutions to provide you with nonetheless.
Turn back now if you’re set on facing Resident Evil 4’s puzzle plague alone. But if you’re open to a little teamwork, here it is. You’ll find the answers to some of RE4’s toughest puzzles below.
How to solve the Resident Evil 4 remake church puzzle
Puzzle found in: Chapter 4
Requires: The Blue Dial, which is inside the cabinet at the end of a hallway on the right side of the worship room.
Solved by: Patience. After you’ve acquired the Blue Dial, go to the left of the splintered stained glass window and pull the brass lever. The pulpit will snap open to reveal a red and green dial; place the blue dial to the left of these. Start swiveling the dials, which rotate the shattered glass in their respective colors.
You want to arrange the broken glass so that it aligns perfectly with the Los Illuminados symbol still intact in the window. I’ve found turning the green dial first makes the quickest way to solve this puzzle since it outlines the pointy tip of the Los Illuminados symbol and much of its wing shape.
So watch the tip of the symbol as you spin the green glass and stop when they’ve lined up. Then, start moving the red glass—you can confirm it’s in the right position by glancing at the left and right “wings” of the symbol, which nestle into the red. Fill in the remaining gaps with blue. You’ll know you’ve got it when metal bars rise and unblock your exit.
How to solve the RE4 remake cave puzzles
Puzzle found in: Chapter 4
Requires: The boat you acquired in Chapter 3, to speed to each cave location.
Solved by: Pressing buttons that match symbols you find painted on the cave walls.
Not everyone has time for that, so here’s the shortcut answer. At the first puzzle location, in the Large Cave Shrine, you need to hit (in no particular order) the top left symbol (half-circle squiggles), the top right symbol (a sort of apple shape), and the bottom (two short criss-crosses sitting next to each other). A door will open, leading you to the Apostate’s Head key.
At the Small Cave shrine puzzle, input the left symbol (a more squashed apple shape), bottom left (three waves), and bottom right (three chains spiraling together) in any order. You’ll be able to grab the Blasphemer’s Head and Hexagon Piece C, which you’ll need for the hexagon puzzle.
How to solve the RE4 hexagon puzzle
Puzzle found in: Chapter 3, but concludes in Chapter 4
Requires: Hexagon Piece A through C. The first two pieces can be found in Chapter 3—Piece A in a wooden chest near the Merchant’s lake location, and Piece B is a chest toward the back of the Fish Farm, in the water. In Chapter 4, you’ll find the final Piece C in the Small Cave Shrine, in a case next to the ladder.
Solved by: Adding the three Pieces to the Puzzle and “[spinning] shit for 10 minutes,” as Kotaku staff writer Zack Zwiezen advised me earlier this week.
That pretty much sums it up, though it’s easier in Assisted/Standard difficulty—turn the top group of Pieces once, and then the left group once. In Hardcore/Professional, adjust the top group once, the left group twice, and the right group twice. The hatch will open and release the Depraved Idol treasure.
How to solve the RE4 remake lithograph puzzle
Puzzle found in: Chapter 8
Requires: Four “Lithographic Stones,” A through D. Stone A is already (incorrectly) slotted into the puzzle wall when you arrive. If you’re playing Assisted/Standard difficulty, you’ll find Stone B lying on the bookshelf to the left of the wall, and Stone D to the left of that bookshelf, behind a glass case in the back corner. Head left again to find Stone C flat on a stack of stone tablets, in the corner across from D. On Hardcore/Professional difficulty, the Stones are in slightly different locations but are still hidden in a perfect triangle in the Bindery.
Solved by: Matching the print on the dual-sided stones to the print labeled on each slot. So, the slot depicting a red knight inside a red square needs a Lithographic Stone showing the same, and the slot showing a worn, blue hexagon requires a Lithographic Stone with a blue hexagon on it, too.
Place down all four Lithographic Stones—you won’t be able to arrange them in the proper order until they’re all slotted. Going clockwise, you want a rotated Stone D on top, a rotated Stone C on the right, Stone B rotated on the bottom, and finally a rotated Stone A on the left. The door will pop open when you’ve properly matched all prints.
What are some of your best pieces of advice for puzzle-solving in the RE4 remake?


Leave feedback about this